ContentBlocks ContentBlocks 1.x Permissions
As of ContentBlocks 1.5, you have fine grained control over who can perform certain actions in the ContentBlocks Component. This uses the Access Control Lists features of MODX, that allows you to assign sets of permissions to a user group.
Table of Contents
Introduction
During installation a Policy Template with the name ContentBlocksTemplate is created. This contains all the permissions for ContentBlocks, 35 at latest count, which you can add to Access Policies through that template. The full list can be seen in your manager, along with a brief description of each, by browsing to System > Access Control Lists > Policy Templates > ContentBlocksTemplate.
There are permissions that control access to the entire component (contentblocks_component) and it gets more granular from there on. With the contentblocks_fields, contentblocks_layouts, contentblocks_templates, contentblocks_categories and contentblocks_defaults permissions you can remove the specific tabs in one go.
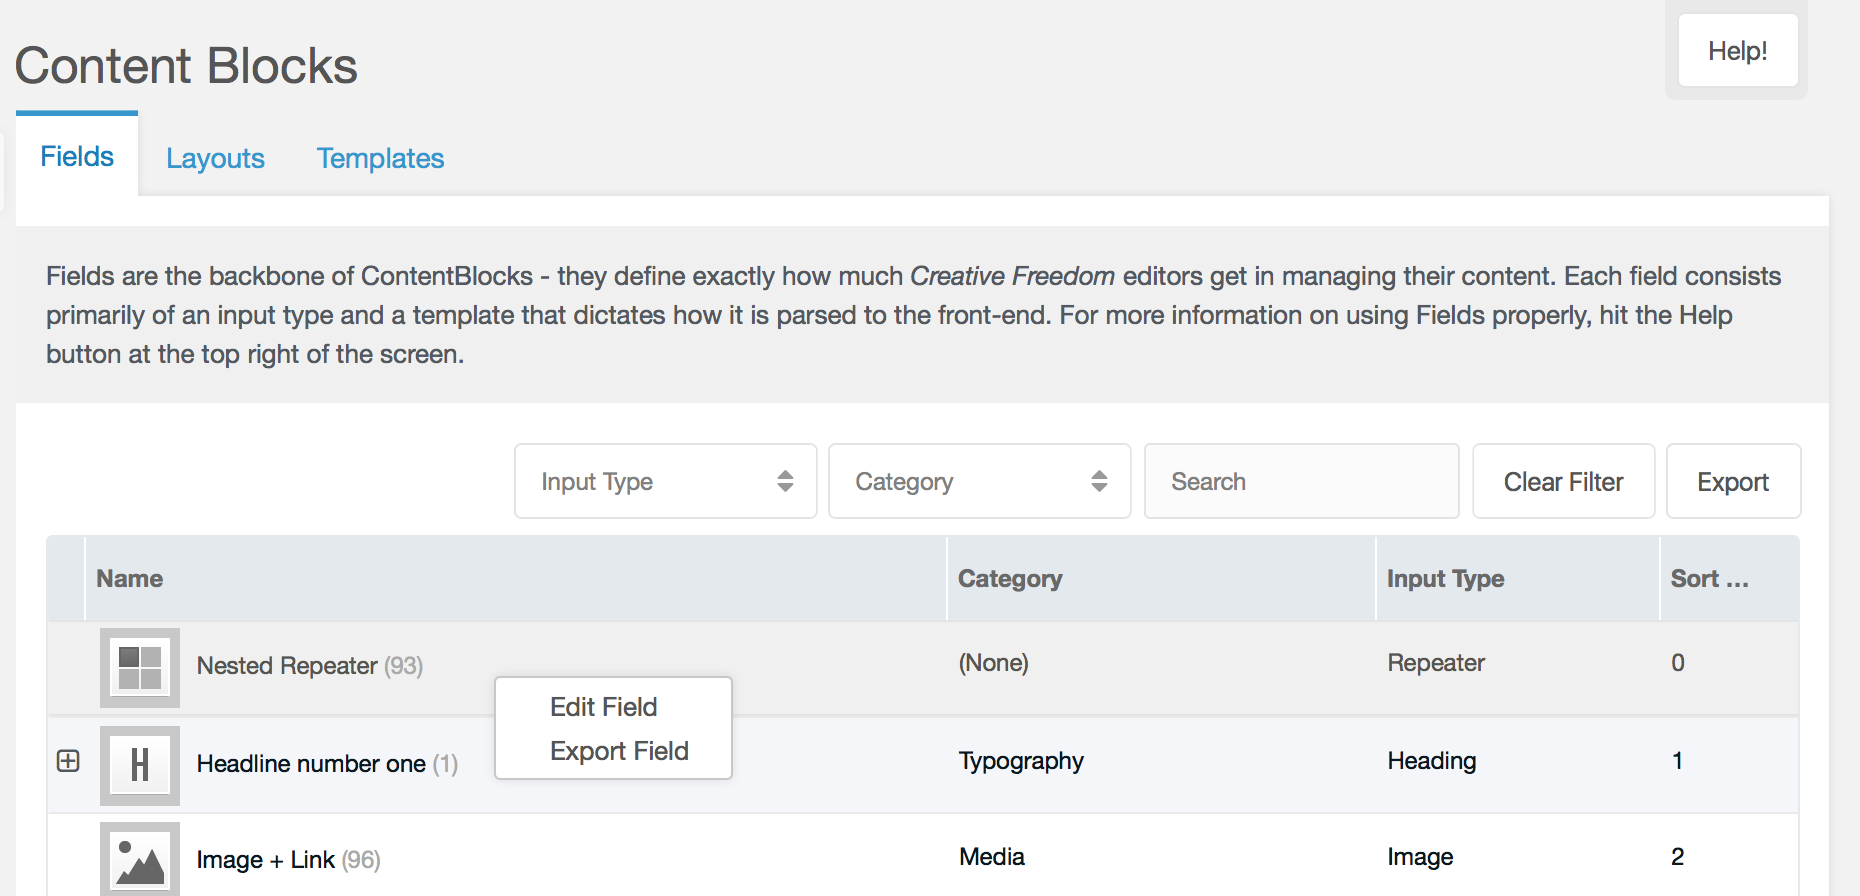
The contentblocks_OBJECT_new permissions (e.g. contentblocks_fields_new and contentblocks_layouts_new) control if the “Add New” button is available, allowing people to fill in the details for an object. Similarly, the contentblocks_OBJECT_edit permissions control if they can right click and edit an object. In both cases however, the user also needs thecontentblocks_OBJECT_save permission in order to actually save their changes. This allows the user to view all the properties on an existing object (as not everything is shown in the grid), without being able of saving changes.
There is no specific permission for duplicating an object, instead the user will need a combination of contentblocks_OBJECT_new, contentblocks_OBJECT_edit and contentblocks_OBJECT_save for that to be available.
Limiting Access to the ContentBlocks Component
Knowing what permissions are available, here’s a step-by-step tutorial on setting up limited access to the ContentBlocks component for an editor user.
Step 1: Create the Access Policy
The first thing to do is creating an access policy. Go to System > Access Control Lists and hop into the Access Policies tab. Click on Create Access Policy and fill in the window. Enter a name and description that describes your policy (e.g. “ContentBlocks Read-only Access”), but most importantly select ContentBlocksTemplate as the policy template. Save the new Policy.
Find the new policy in the grid and choose Update Policy in the right click menu.
Now you can choose which permissions the user should have. In this example, we’ll limit the component to be read only. Users will be able of seeing Fields, Layouts and Templates, but they wont be able of saving changes to it. They’ll also be able of exporting those elements. To do this, we grant them the following permissions:
- contentblocks_component
- contentblocks_fields
- contentblocks_fields_edit
- contentblocks_fields_export
- contentblocks_layouts
- contentblocks_layouts_edit
- contentblocks_layouts_export
- contentblocks_templates
- contentblocks_templates_edit
- contentblocks_templates_export
Select those permissions in the list, save the Access Policy, and choose close to return to the Access Control Lists page in the manager.
Step 2: Add the Policy to a User Group
Now you can add the Access Policy to a user group. On the User Groups & Users tab choose the user group you would like to give limited access to the ContentBlocks component with your access policy. Right click it and choose Update User Group.
On the new page, go to Permissions > Context Access. Hit Add Context and in the window select the mgr context, a minimum role of member (9999), and the access policy you created in the previous step.
Step 3: That’s all!
Despite its reputation, the MODX ACL system isn’t that bad, is it?
You can now tweak your access policy further. Keep in mind when testing that you should use a different browser, and that you should flush the permissions after each change to the policy or user group (either Manage > Flush Your Permissions if you’re logged in as the editor, or Manage > Logout All Users from an admin account).
Having issues setting it up to your liking? E-mail us at [email protected] and we’ll get you sorted.